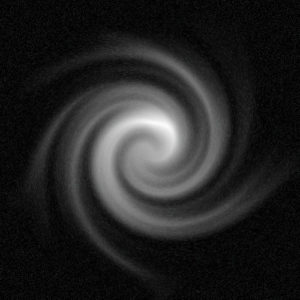
Milky Way Effect Photoshop Tutorial

Updated May 2017 for compatibility with newer versions of Photoshop.
Compatible with Photoshop CC 2017
- Create a new image around 500×500 px
- Fill the background with black
- Go to Filter > Filter Gallery
- Select the Plastic Wrap thumbnail in the gallery
Highlight Strength: 20 | Detail: 15 | Smoothness: 15
Click OK - Go to Filter > Distort > Wave
Keep the default settings and hit OK
(Wavelength: 10/20 | Amplitude: 5/35 | Scale: 100/100) - Go to Filter > Filter Gallery
- Select Distort > Diffuse Glow
Graininess: 6 | Glow Amount: 0 | Clear Amount: 20
Click OK - Go to Image > Adjustments > Hue/Saturation
Check Colorize | Hue: 70 | Saturation: 30 | Lightness: 0 - Go to Filter > Distort > Twirl
Angle: ~375 - Continue to tinker for the right color
Compatible up to Photoshop CS5
- Create a new image around 500×500 px
- Fill the background with black
- Go to Filter > Artistic > Plastic Wrap
Highlight Strength: 20 | Detail: 15 | Smoothness: 15 - Click OK
- Go to Filter > Distort > Wave
Keep the default settings and hit OK - Go to Filter > Distort > Diffuse Glow
Graininess: 6 | Glow Amount: 0 | Clear Amount: 20 - Go to Image > Adjustments > Hue/Saturation
Check Colorize | Hue: 70 | Saturation: 30 | Lightness: 0 - Go to Filter > Distort > Twirl
Angle: ~375

Leave a Reply
Want to join the discussion?Feel free to contribute!